So, you're thinking about adding a deck to your place here in Richland, huh? That's a great idea. A good deck doesn't just look nice, it adds a ton of usable outdoor space, perfect for those long Tri-Cities summers. But before you grab a hammer, let's talk about what goes into it. This isn't just about nailing boards together; there's a whole process, and knowing what you're getting into can save you a lot of headaches and money.
Before You Even Think About Lumber
First things first: planning. This is where most folks either set themselves up for success or for a real mess. You can absolutely handle a lot of this upfront stuff yourself, and you should. It'll give you a clearer picture of the project and help you get better quotes if you decide to hire someone.
- Permits are Non-Negotiable: I can't stress this enough. You need a building permit from the City of Richland for any significant deck project. They'll want to see plans, and they'll inspect the work. Skipping this is asking for trouble down the road, believe me. You might get away with it for a while, but when you go to sell your house, an unpermitted structure can be a huge problem.
- Design & Layout: Think about how you'll use the deck. Is it for grilling, entertaining, just relaxing? How big does it need to be? Sketch it out. Consider sun exposure, privacy, and how it connects to your house. This is a great DIY step.
- Material Choices: Wood, composite, PVC? Each has pros and cons for our climate. Wood is classic, but needs maintenance. Composites are low-maintenance but cost more upfront. Do your research.
- Budgeting: Get real about what you can spend. Materials, labor (if you're hiring), permits, tools... it all adds up.
When it comes to the plans for the permit, you can try drafting them yourself if you're handy with CAD or even just a good ruler and paper. But if your design is complex, or you're not confident in meeting code requirements, a professional designer or architect is worth the investment. They'll ensure everything is up to snuff for the city's approval.
During Construction: Where DIY Meets Pro
Okay, you've got your permit, your plans are solid, and you've picked your materials. Now for the actual building. This is where the line between DIY and calling a pro gets a little blurry, and it really depends on your skill level, your tools, and your time.
- Foundation & Footings: This is probably the most critical part of the whole deck. Your deck needs to be stable, especially with our expansive clay soils here in parts of Richland, which can shift. Digging proper footings below the frost line (which is usually around 24-30 inches deep here) and pouring concrete piers that are correctly sized and spaced is essential. If you mess this up, your deck will sag, heave, or become unstable. This is where I often see DIYers get into trouble. If you're not experienced with concrete work and structural integrity, this is a prime candidate for hiring a professional. A good contractor, like us at Skyline Decks Richland, knows the local soil conditions and codes inside and out.
- Framing: Once the footings are in, the framing goes up – the posts, beams, and joists. This is where precision matters. Everything needs to be level, square, and securely fastened. If you're comfortable with a circular saw, a level, and a framing square, and you understand basic carpentry, you can tackle this. But if you're not confident in cutting accurate angles or ensuring structural integrity, a professional will get it done right and much faster.
- Decking & Railings: Laying the deck boards and installing railings is often the most satisfying part for a DIYer. It's repetitive, but the results are visible quickly. You'll need good measuring skills, a miter saw, and a drill. Railings have specific height and spacing requirements for safety, so pay close attention to code here. This is definitely something many homeowners can do themselves, especially if they've handled smaller carpentry projects before.
- Stairs: Building stairs is trickier than it looks. Getting the rise and run consistent and safe is crucial. If you've never built stairs, this might be another area where professional help is a good idea.
My rule of thumb? If it's structural, or if a mistake could lead to injury or major repair costs, consider a pro. If it's cosmetic and you're willing to learn, go for it.
After the Build: Maintenance Matters
Okay, the deck is built, the inspections are passed, and you're enjoying your new outdoor space. Don't just forget about it! Maintenance is key to making your investment last, especially with our hot, dry summers and occasional freezing winters.
- Cleaning: Regular cleaning is a must. Sweep off leaves and debris. Power wash annually, but be careful not to damage the wood or composite.
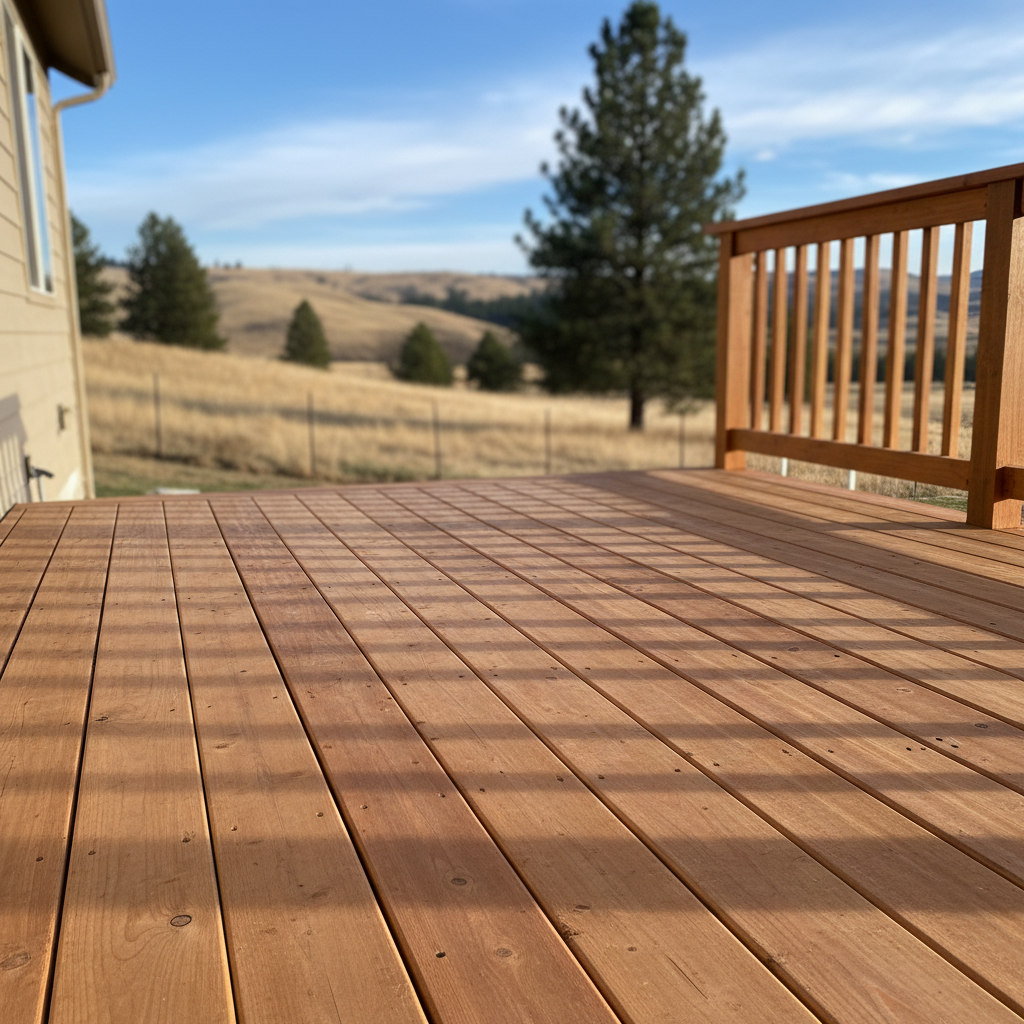
- Staining/Sealing (for wood decks): If you went with wood, you'll need to stain or seal it every few years. This protects it from UV damage, moisture, and rot. Our intense sun here can really dry out and crack untreated wood quickly.
- Inspections: Do a quick visual check once a year. Look for loose fasteners, wobbly railings, or any signs of rot or insect damage, especially where the deck meets the house. Catching small issues early can prevent big problems.
You can absolutely handle all of the maintenance yourself. It's just part of being a homeowner. A little effort each year will keep your deck looking great and safe for years to come. Enjoy that new deck!